A farmer at Kasoa Opeikuma bought a 1,056-egg incubator in 2024, set eggs from his own layer flock and got a respectable 72 percent hatch on the first batch. By the fourth batch he was at 51 percent and the chicks that did hatch had swollen, wet navels and a smell that hung in the room. Several died in the box before he reached his brooder, and the rest lost a quarter of their number in the first week. He had never once washed the machine between batches. Every hatch had seeded the next one with more bacteria, and by batch four the incubator was, in effect, a warm humid culture flask for Escherichia coli and Pseudomonas with eggs inside it.
Hygiene is the least glamorous part of running a hatchery and the part that decides whether the chicks you sell live or die in their first week. An egg going into a setter has a thin shell with seven to ten thousand pores in it, an internal temperature that will sit at 37.5 °C for three weeks, and a cuticle that offers only partial protection. Any bacteria on the shell surface at setting has the perfect conditions to multiply and, in a proportion of eggs, to get through. The result is exploding "rotten" eggs in the setter, dead-in-shell embryos, and chicks hatched with yolk sac infection, which farmers know as mushy chick or omphalitis.
This guide describes the sanitation routine we use in our Kasoa hatchery: how we handle eggs from the breeder house to the hatcher, what we fumigate with and when, how we clean machines between batches, and what we changed after our own mistakes. It is written for anyone running a small incubator at home as well as for those setting up a commercial hatchery. Read it with our guides on fertile egg selection and storage and poultry biosecurity.
Written from our hatchery floor
This guide reflects day-to-day practice at the Agro Prime hatchery in Kasoa, where we hatch and supply day-old chicks to farmers across Ghana. Always confirm current prices and confirm any medication or vaccination programme with your veterinarian.
Where contamination actually comes from
Most people picture hatchery contamination as something that arrives from outside: a visitor, a dirty vehicle, a wild bird. Those matter, but the bulk of the microbial load in any hatchery comes from three sources that are already inside.
First, the eggs themselves. An egg is laid at around 41 °C, the hen's body temperature, and as it cools the contents contract and pull air, and whatever is in that air, through the pores. If the egg lands in a dirty nest, on wet litter or on a floor with droppings, it draws in faecal bacteria in the first minutes of its life. Floor eggs in a Ghanaian deep-litter breeder house in the rainy season are the single worst input a hatchery can accept. We refuse them, or set them separately and expect a poor result.
Second, the hatch itself. When chicks hatch, they release fluff, shell dust, dried membrane and a fine aerosol from the egg contents into the machine. This "hatch debris" is rich in organic matter and carries whatever bacteria and fungi were on the shells. A hatcher after a pull is not merely dusty; it is coated with a biological film. Fluff also carries Aspergillus spores, the mould that causes brooder pneumonia in chicks, and once Aspergillus is established in the ducting of a hatcher it is very hard to remove.
Third, water. Humidity trays and reservoirs in a machine at 37.5 °C grow Pseudomonas and other water bacteria within a few days. A humidifier that sprays a fine mist of contaminated water over eggs is a very effective way to infect them. Every water tray in every machine in our hatchery is emptied, scrubbed and refilled with clean water at least twice a week, and daily in the hatchers.
The cost of a dirty hatchery
The economics are simple and severe. Contaminated eggs explode or weep in the setter, spreading their contents over neighbouring eggs; one rotten egg can compromise a whole tray. Chicks from a contaminated hatch carry E. coli, Salmonella, Staphylococcus or Pseudomonas in the yolk sac, and the yolk sac is meant to be their food for the first three days. Instead it becomes a bag of infection. The chick looks fine at pull, sells as a healthy day-old, and then dies on day two to five at the farmer's brooder with a swollen abdomen, a wet or unhealed navel and a yellowish-green, foul-smelling yolk sac inside.

Egg handling: hygiene begins in the breeder house
Everything that happens to an egg between the hen and the setter determines how much fumigation and disinfection can achieve later. In our supplier breeder houses and our own flocks we insist on the following.
- Nest boxes with clean, dry litter changed weekly, and more often in the rains. Wood shavings are better than sawdust; sawdust is dusty and packs down when wet.
- Collection at least four times a day, and five in hot weather. The longer an egg sits in a nest, the more chance of soiling and of a second hen cracking it.
- Floor eggs collected separately and either not set at all or set on their own trays in the lowest position of the machine, where leakage cannot drip onto other eggs.
- No washing of hatching eggs. Washing with cold water pulls bacteria inward through the pores. Lightly soiled eggs may be dry-brushed or wiped with fine sandpaper; heavily soiled eggs are table eggs, not hatching eggs.
- Egg trays and fibre flats used once for hatching eggs, or plastic trays washed and disinfected between uses. Cardboard flats that have been to a market and back are not acceptable.
- Cool storage at 15–18 °C and 70–75 percent humidity, for no more than seven days. Warm storage lets any surface bacteria start to multiply before the egg is even set.
Egg sanitation before setting
Even clean-looking eggs carry thousands of bacteria on the shell. Before setting we reduce that load. There are two practical approaches for Ghana.
Formaldehyde fumigation. This is the traditional method and still the most effective single treatment. Eggs are placed in a sealed cabinet or the setter itself, and formaldehyde gas is generated by mixing formalin (40 percent formaldehyde solution) with potassium permanganate crystals. The standard concentration is what the industry calls "single strength": 40 ml formalin plus 20 g potassium permanganate per cubic metre of cabinet space, for 20 minutes, at 24–30 °C and above 70 percent humidity. Triple strength (120 ml + 60 g) is used for empty machines and hatch debris, never for eggs with embryos beyond the first 24 hours. The reaction is violent and produces heat and gas quickly; the permanganate goes in an earthenware or enamel bowl at least ten times the volume of the liquid, the formalin is poured on, and the person leaves and seals the door immediately.
Safer alternatives. Formaldehyde is a recognised carcinogen and irritant, and we now use it only in a dedicated, ventilated fumigation cabinet, never in a room where staff work. For routine egg sanitation we increasingly use a fine spray or fog of a quaternary ammonium compound or a hydrogen peroxide based disinfectant at the label concentration, applied to eggs in trays and allowed to dry. Ultraviolet cabinets are also available and work well on the shell surface, though they do not reach the underside of eggs on a flat. Whatever product you use, follow the label rate; a stronger solution does not sanitise better, it just damages the cuticle.
| Application | Formalin | Potassium permanganate | Exposure | Notes |
|---|---|---|---|---|
| Hatching eggs, before setting (single strength) | 40 ml per m³ | 20 g per m³ | 20 min | Temperature 24–30 °C, humidity above 70 %; ventilate fully afterwards |
| Eggs in setter, first 12–24 h only (single strength) | 40 ml per m³ | 20 g per m³ | 20 min | Never fumigate eggs between 24 and 96 hours of incubation; embryos are killed |
| Empty setter or hatcher after cleaning (triple strength) | 120 ml per m³ | 60 g per m³ | 30 min or more | Machine at working temperature, fan on, vents closed; air out 2–3 h before use |
| Hatcher at transfer with eggs (single strength) | 40 ml per m³ | 20 g per m³ | 20 min | Safe at day 18 before pipping; stop as soon as chicks start to pip |
Cabinet volume is length × width × height in metres. These are standard industry rates for orientation; follow the product label, use gloves, goggles and a respirator, and never fumigate in an occupied room. Some countries restrict formaldehyde use; check current guidance from your veterinary authority.
The fumigation window that kills embryos
Formaldehyde fumigation of eggs is safe before setting and in the first 12–24 hours of incubation, and again at day 18 transfer before any egg has pipped. Between roughly 24 and 96 hours of incubation the embryo is at its most sensitive and fumigation at any strength causes heavy early death. We have seen farmers fumigate a mixed-age setter to "clean it up" and lose almost every egg under four days old. Never fumigate a setter with eggs of different ages inside it.
Cleaning the setter and hatcher: the routine
Machines are cleaned in a fixed order: dry clean, wet clean, disinfect, dry, fumigate. Skipping a step makes the next one less effective. Disinfectants do not work through organic matter, so a machine that has been sprayed with disinfectant but not washed is still dirty.
- Dry clean immediately after the pull. Remove all trays, the chick baskets, the water trays and any removable panels. Brush or vacuum out fluff, shell and debris while it is dry; fluff that gets wet turns into a paste that is much harder to remove. Bag the debris and remove it from the hatchery building; do not leave it in a corner.
- Wet clean with detergent. Wash every internal surface, the fan blades, the heater guard, the door seals and the underside of shelves with warm water and a proper detergent, using a brush. Trays and baskets are soaked in a tank of detergent, scrubbed, and rinsed. In our hatchery this takes two people about ninety minutes for a 5,000-egg hatcher.
- Rinse and inspect. Rinse with clean water. Then look with a torch, especially at corners, the fan housing and the humidity system. If you can see organic matter, wash again.
- Disinfect. Apply a broad-spectrum disinfectant to all surfaces by sprayer at the label rate and leave it for the contact time on the label, typically 10–30 minutes. We rotate between a quaternary ammonium product and a peroxide or glutaraldehyde product every few months to avoid selecting for resistant organisms.
- Dry. Run the machine empty with the door open or vents open until it is dry. Bacteria and moulds grow in wet machines.
- Fumigate. Close the machine, bring it to working temperature with the fan on, fumigate at triple strength, then air it out completely. Only then does the next batch of eggs go in.
A hatcher is cleaned after every single hatch without exception. Setters in a multi-stage operation (with eggs of different ages inside) cannot be fully washed until they are emptied, so we schedule a complete empty and clean of every setter at least every three months and wipe the floor, the door area and the water system weekly in between. Small single-stage machines used by farmers at home are far easier: they are cleaned fully between every batch, and if that is not done, nothing else in this guide will help.

Monitoring: how we know the cleaning worked
You cannot see bacteria, so we measure. If you buy chicks rather than hatch them, ask your hatchery how it checks; our guide on why chicks die covers what to do if a batch arrives infected. The simplest method for any hatchery is the settle plate: an open agar plate placed in the machine or room for 15 minutes, then incubated and the colonies counted. A veterinary laboratory can supply plates and count them, and the cost is modest. We sample the empty hatchers after fumigation, the chick room, and the egg store. A clean hatcher should show only a handful of colonies; a plate that comes back as a solid carpet of growth tells us the cleaning failed and where.
Swabs of surfaces and of water lines are the second tool. The third, and the one every farmer can do without a laboratory, is to smell. A clean machine at working temperature smells of nothing. A sour, fishy or rotten smell in a setter means an egg has exploded or a water reservoir has gone bad; find it that day. Bandy chicks with a sweet, sickly smell at pull mean yolk sac infection is already present in the hatch.
The hatchery building: flow, people and pests
Hygiene inside the machines fails if the building around them is dirty. A hatchery should be laid out so that eggs and chicks flow in one direction: egg receiving and storage, then setting, then hatching, then chick processing and dispatch. Nothing flows backwards. A worker who has been in the chick room, where hatch debris is everywhere, does not walk into the egg store in the same boots. In a small hatchery this may be a single room with three zones marked on the floor, but the principle holds. Boot dips at every door, hatchery-only footwear and a reception area where customers wait without entering the hatch room complete the picture.
A mini-case: tracing omphalitis back to the water system
In the wet season of 2023 we had a run of three hatches with rising navel problems and a customer at Bawjiase reporting 9 percent first-week mortality, with swollen abdomens on post-mortem. Our egg supply had not changed, the hatchers were being cleaned on schedule and settle plates from the hatcher walls were acceptable. The plates from the setter humidification reservoir, which we had not been sampling because it was "just water", grew a thick green-tinted colony that a veterinary laboratory identified as Pseudomonas aeruginosa. The reservoir was topped up daily but had not been emptied and scrubbed in months, and its float valve had a film of slime.
We drained and scrubbed every reservoir, replaced the float valves, added a weekly emptying and disinfection of all water systems to the schedule, and began sampling water lines monthly. The next hatch had normal navels and the Bawjiase customer's next batch lost 1.4 percent in the first week. The whole episode cost us three hatches of second-grade chicks and one very good customer's trust, all for a bucket of water we had not looked at.
Frequently asked questions
How do I fumigate hatching eggs with formalin?
Can I wash dirty hatching eggs?
Why do my chicks have swollen bellies and wet navels?
How often should I clean my incubator?
Is formaldehyde fumigation safe?
What disinfectant should I use in a hatchery?
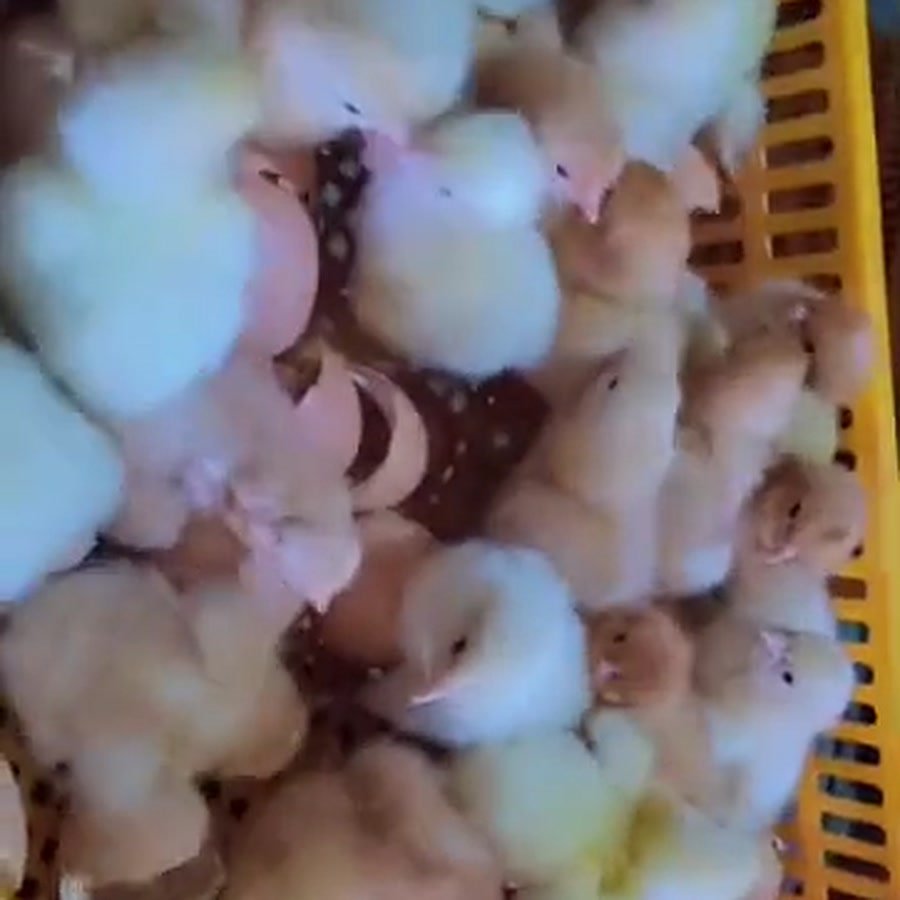
Chicks from a hatchery that cleans between every hatch
Agro Prime strips and fumigates every hatcher after every pull, sanitises every egg before setting and samples its machines and water systems, so the chicks you collect start with clean navels and a real chance at under 2 percent first-week mortality. If you are running your own incubator and want to talk through a cleaning routine or a fumigation cabinet, we are glad to help. WhatsApp or call +233 24 915 1503, email support@halaalfarmsghana.com, or book a visit to the Kasoa hatchery.